¶ 1. Abstract
The manual introduces a solution called T6 Planning™ designed to meet the financial management and corporate performance needs of businesses. Emphasizing the importance of gaining a competitive advantage, the text highlights the complexity of financial processes subject to various external and internal influences. T6 Planning™ is described as a comprehensive solution for financial planning and performance monitoring, following the Comprehensive Performance Management (CPM) concept. The focus is on the intuitive graphical interface, isolating users from complex technical terminology. The manual details specific features such as Application Information Sharing, Data Linking, and Dimension Sharing, providing step-by-step instructions for configuring and executing these functionalities. Additionally, it emphasizes the importance of data security and integrity, offering options to ensure a secure link between applications.
¶ 2. Application Information Sharing
¶ 2.1 Overview
Day-to-day planning models are becoming more complex and detailed. Based on this statement, T6 Planning has evolved to support any model size, with any level of detail, whether by employee, by product and raw material, or any granularity your model requires.
Among the possible implementation strategies in T6 Planning, you can create two or three models, one being an aggregator and the others detailed in a specific way. These models are created in separate applications within the same T6 Planning installation. A practical example of these strategies would be creating a planning model and another for operational detail. However, creating these models without them interacting with each other, remaining isolated, is quite unproductive.
To address this issue, T6 Planning provides methods for copying information and data so that applications can interact with each other. This keeps models restricted to their strategies and definitions, not polluting or disorganizing other models in the same T6 Planning installation. A practical example of these strategies would be creating a Planning model and another for Operational Detail.
Currently, T6 Planning allows information copying through the modules:
- Data Link: Allows the transfer of values between applications, i.e., data saved in the model's fact/writeback.
- Dimension Sharing: Allows two dimensions (between or within applications) to share the same information, such as attributes and members.
¶ 3. Data Link
¶ 3.1 Overview
Data Link is the tool used by T6 Planning to move data between applications. For example, Data Link is used to aggregate detailed data for a specific employee from a Human Resources application and copy it to the Financial application, where this data is detailed only by entities (or cost centers), without bringing the payroll complexity to the financial application.
Using the Data Link tool, you can perform the following tasks:
- Create and manage data links for loading information from specific contexts of other T6 Planning applications.
- Copy data between applications, both within applications in the same database and between applications in separate databases. Data copying enables the integration of two or more applications within the same project.
¶ 3.2 Data Link Details
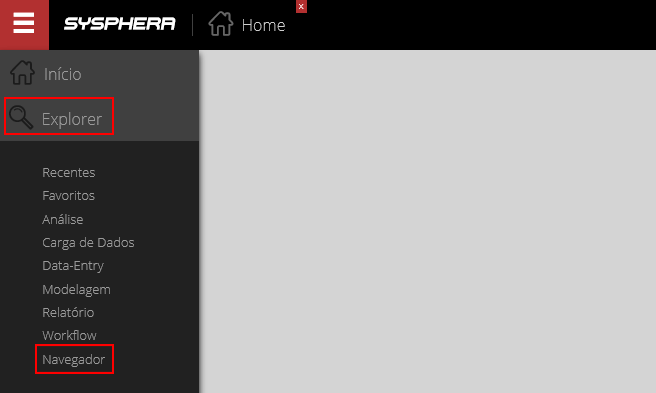
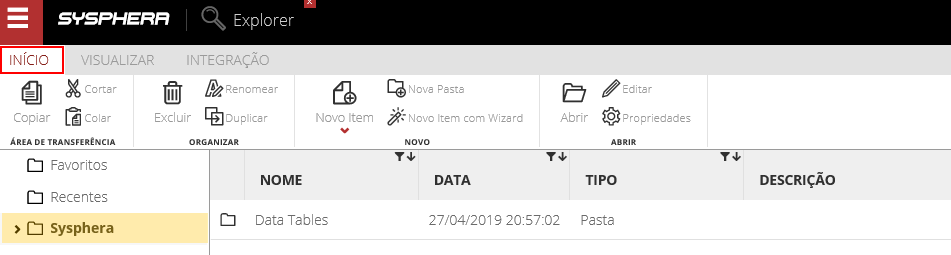
To access this feature, in the main menu of T6 Planning, go to -> Explorer -> Navigator.
¶ 3.3 Add and Edit Data Links
It is the functionality that allows you to add a new data link to the current application or edit an existing data link.
To add a Data Link:
- The Explorer will automatically display the features of the HOME tab.
- On the left side of the screen, you will find the system folder listing.
- Select the folder where you want to save the data link.
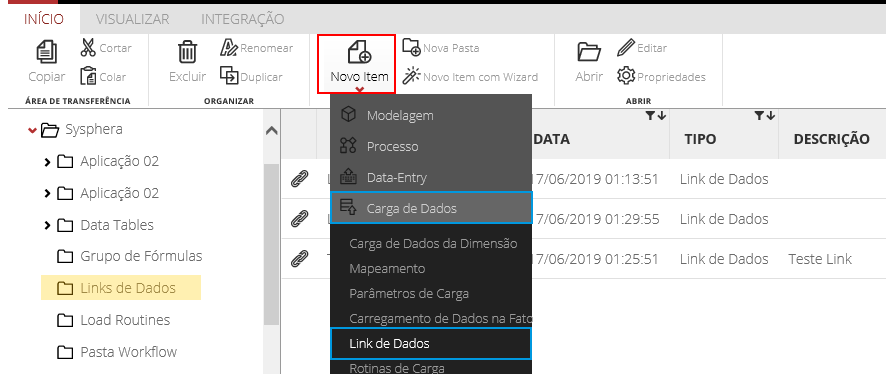
- In the options bar, click on New Item, expand the Data Load item by clicking on it, and then click on Data Link.
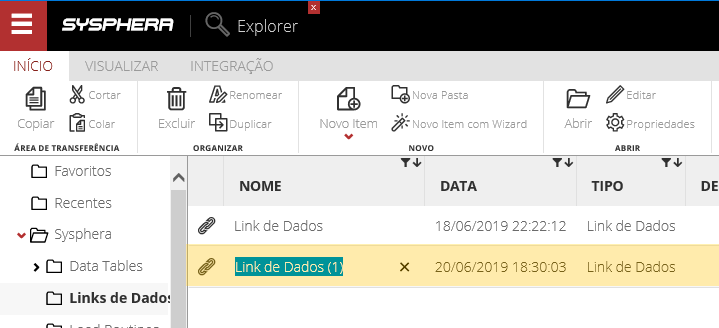
- The created Data Link will appear in the middle of the screen, in the data link list.
- Name the data link.
To Edit a Data Link:
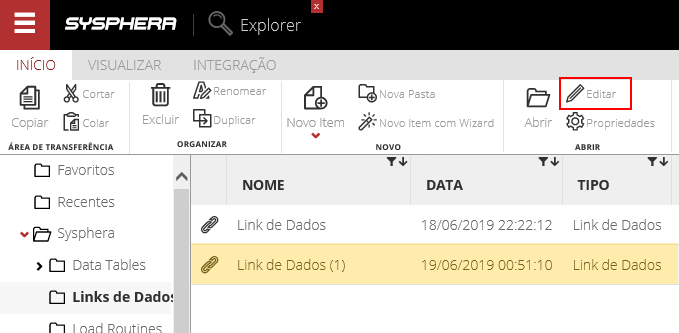
- In the data link list, select the data link you want to edit by clicking on it.
- Then, in the options bar, click the Edit button.
Continuing for both Adding and Editing data links, you will use the Data Link Assistant feature:
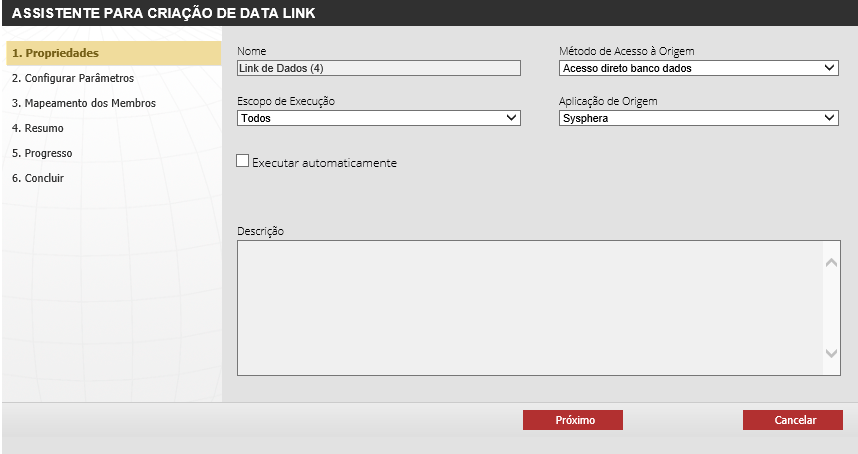
In step 1 - PROPERTIES:
- In the Name field, enter the name of the Data Link.
- In the Source Access Method field, select the type of access to the application from which the copy will be made. The possible types are: Direct Access, Direct Database Access, and Remote Access. See the details of each type below, below the screen image.
- In the Execution Scope field, select the scenario type in which the data link will be executed.
- Next, in the Source Application field, select the source application of the data to be consolidated.
- Check the "Run automatically" option to allow data links to be calculated and updated automatically in an online manner.
- Finally, in the Description field, fill in the description of the data link.
- To continue the configuration, click Next.
Description of possible types for Source Method:
- Direct Access: In this access, both applications must be in the same database. Data copying in this type of access will occur through T6 Planning's own objects and structures. Depending on the size of the models or the amount of data to be copied, this access can become slow.
- Direct Database Access: In this access, both applications must be in the same database. Data copying in this type of access will occur through SQL queries directly in the database. This type is recommended for applications that contain a large volume of data.
- Remote Access: This type of access is used in case the source application is on another server or in another T6 Planning installation. For this type, it will be necessary to fill in the following information:
- Connection: Address where the source application is located.
- User: User with permissions in the source application.
- Password: User's password.
In step 2 - CONFIGURE PARAMETERS, you will perform the configuration, the mapping of all dimensions of both applications. Note that the four basic dimensions of T6 Planning are already automatically mapped.
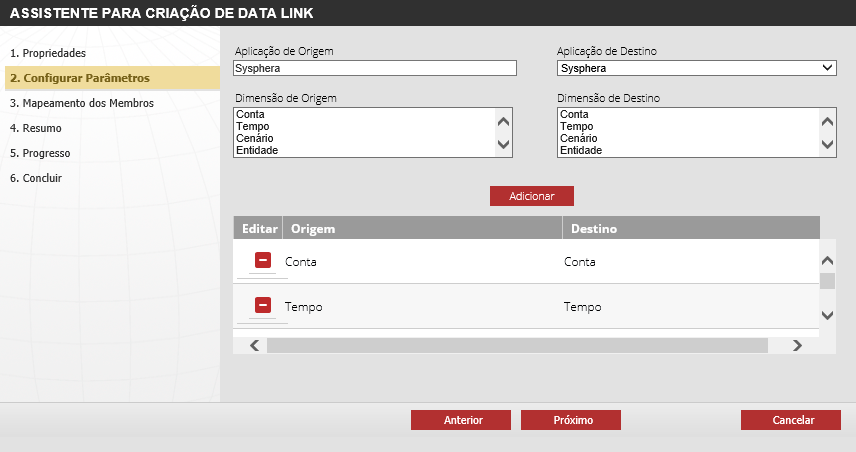
- The Source Application field displays the application from which the data will be copied.
- The Destination Application field displays the application to which the data will be copied.
- The Source Dimension field displays the list of dimensions from the source application available for relationship with the destination application.
- The Destination Dimension field displays the list of dimensions from the destination application available for relationship with the source application.
- Use the Add button to add a relationship between a selected dimension in the source application and a selected dimension in the destination application.
- The last field for configuration on this screen is the Relationship List. It displays the list of dimensions related between the source and destination applications. The Edit button in the column allows you to remove a selected relationship from the list.
- If there is a dimension that does not have a match in the other application, you must select it and select the last member (which is blank) for a match because ALL dimensions must be paired.
- To continue, click Next.
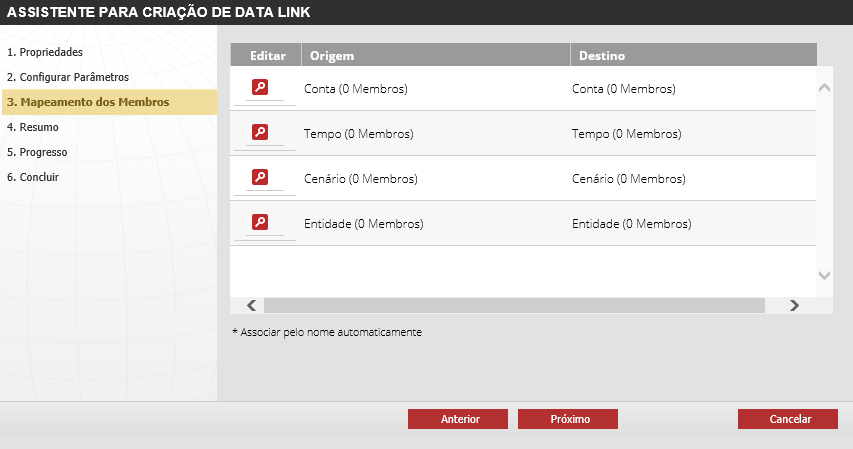
In step 3 - MEMBER MAPPING, you will perform the configuration, the mapping of members. Note that the List displays the dimensions related between the source and destination applications with the number of related members for each dimension.
- To insert the mapping of related members in the dimension, use the magnifying glass icon in the Edit column. For more details, see item 3.3.1, just below.
- After mapping members for ALL dimensions, click Next to continue.
¶ 3.3.1 Mapping of Related Members in the Dimension
This is the functionality that allows configuring, for each dimension, which members from the source will be mapped to the destination. It is necessary to edit and configure all dimensions for correct operation.
In some special cases, the dimension exists in only one of the applications. When this occurs in the source application, the usual approach is to select the account that aggregates all members and indicate in the destination that this detail will not be used. When the unrelated dimension is in the destination, a single member is selected, such as "Not Applicable."
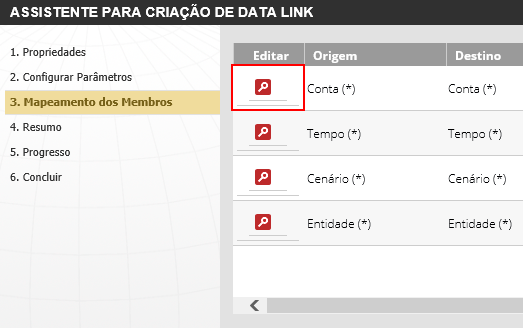
To configure the relationship of members:
- On the Members Mapping screen, select a dimension by clicking on it in the list of dimensions.
- Then, click on the Magnifying Glass icon to relate the members of the selected dimension.
In the Data Link Wizard screen, each dimension will be configured individually:
- The Source Dimension field displays the dimension of the source application.
- The Source Application field displays the source application of the data.
- The Destination Dimension field displays the dimension of the destination application.
- The Destination Application field displays the destination application of the data.
- The Source Dimension Hierarchy field displays the list of Hierarchies of the selected Source Dimension.
- The Destination Dimension Hierarchy field displays the list of Hierarchies of the selected Destination Dimension.
- The Source Members field is a list displaying the members of the source application.
- The Destination Members field is a list displaying the members of the destination application.

- Both the Source Members and Destination Members fields, besides displaying information, contain a search option for values. Next to the title of the members' lists, use the magnifying glass icon. The Members Search screen will be displayed where you will perform the value search.
- In the Operator field, select the operation to be applied to the copied data for the created relationship. See more details below the screen image.
- In the Type field, select the type of member to be applied to the copied data for the created relationship. See more details below the screen image.
- Use the Add button if you want to add a relationship according to the selected members and operation.
- Use the Associate by Name button if you want to automatically associate all members with the same name in the source and destination dimension. See more details below the screen image.
- Use the Remove All button if you want to remove all added relationships.
- At the bottom of the screen is the Relationships List. This list displays all member relationships between the source and destination dimension. The Edit column has the option to remove existing relationships.
- The last configuration option on this screen is the Automatically Associate by Name checkbox. Check this option to automatically associate all members with the same name. This option does not allow individual editing of created relationships.
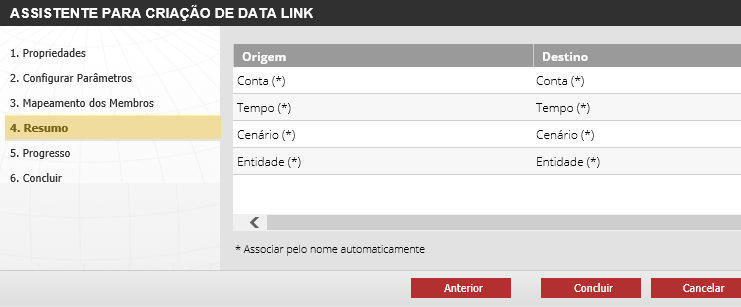
In step 4 - SUMMARY, a summary of the mappings made between the dimensions of the Source and Destination applications will be displayed.
- Click Finish to proceed.
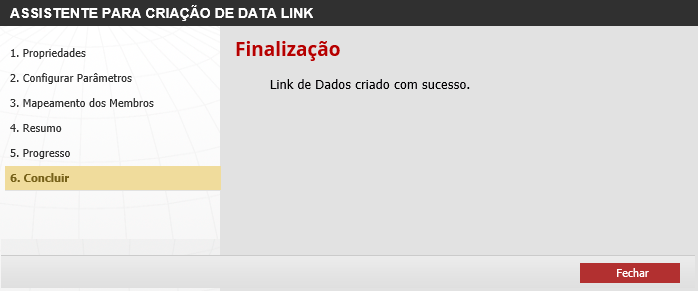
In step 6 - FINISH, T6 Planning will notify you of the completion of the creation or editing of the Data Link. Any errors or issues during creation or editing will be displayed at this step.
- To finish, click Close.
¶ 3.4 Executing Data Links
This is the functionality that allows executing the data copy between applications according to the existing data links.
To Execute a Data Link:
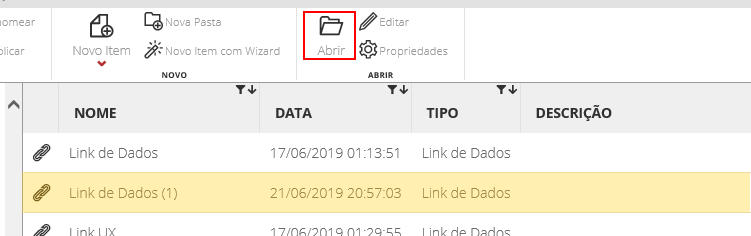
- Click once on the Data Link in the list of data links. You will select it.
- In the options bar, click the Open button.
Pay attention to security issues. To Execute the Data Link, you must have the necessary permissions in both the source and destination applications.
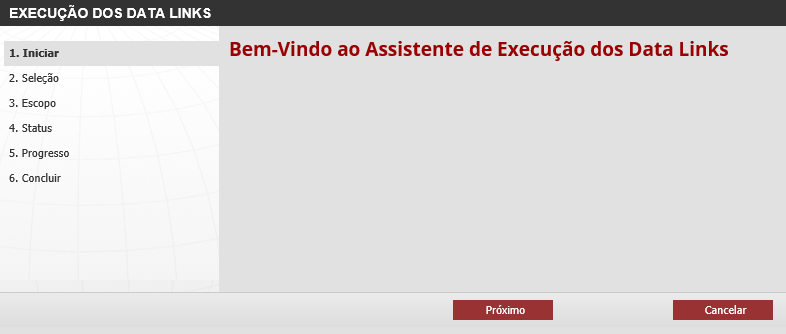
Continuing the execution, you will use the Data Link Execution Wizard.
- On the Welcome to the Data Link Execution Wizard screen, in the first step, click the Next button to start the execution.
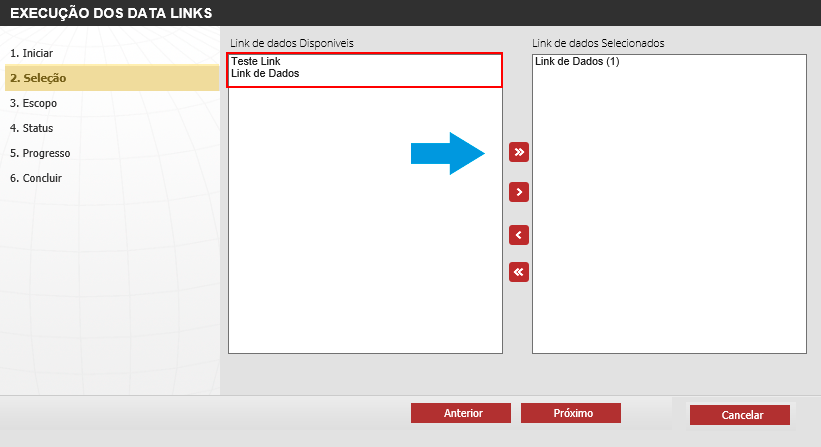
In the second step - SELECTION:
- The Available Data Links field displays a list containing the created data links available for execution.
- Through the buttons in the center of the screen, data links can be added or removed from each list.
- After selecting the data links, click Next to proceed.
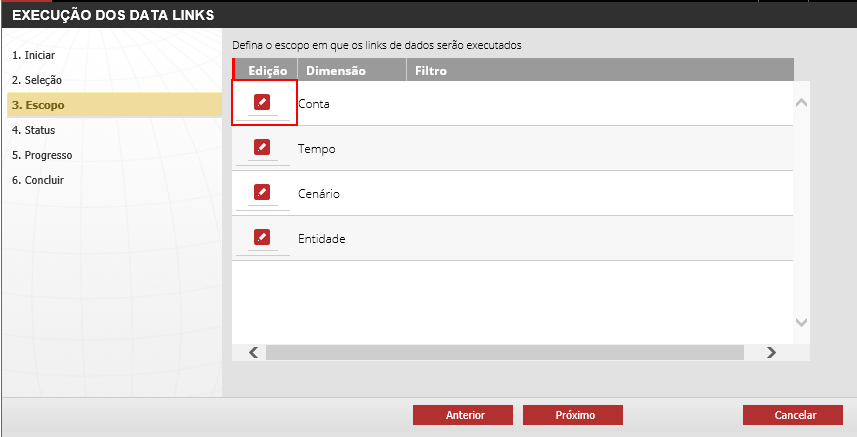
In the third step - SCOPE, you will define the scope in which the data links will be executed:
- The Dimension field allows the configuration of the execution context for each dimension of the application.
- The Filter field displays the configured context for each dimension.
- Use the Edit column to configure the context for the selected dimension.
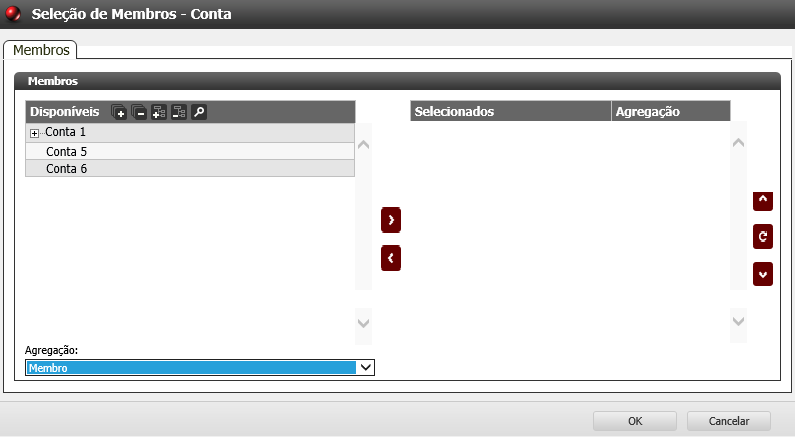
On the Member Selection - Account screen, go to the list of available members, choose the member, and then click the button highlighted by the arrow and click OK.
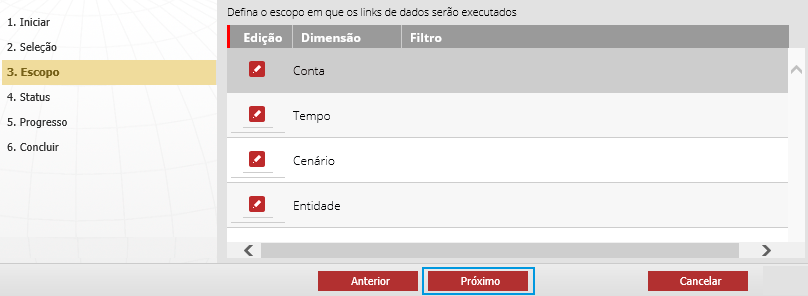
When returning to the Scope step, click the Next button.
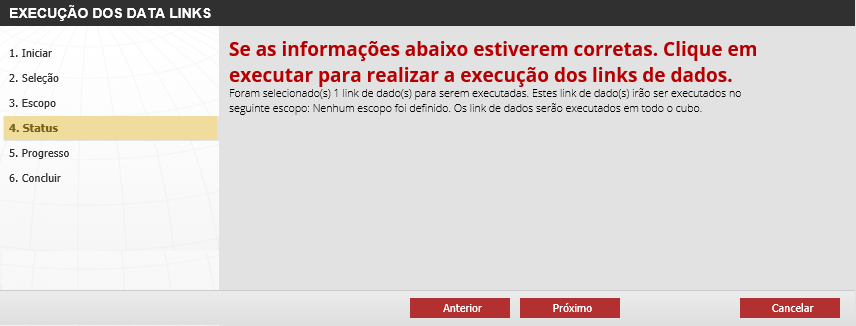
In the fourth step - STATUS, a summary of the selected options is displayed. Confirm the information, and if everything is correct, click the Next button to start the execution.
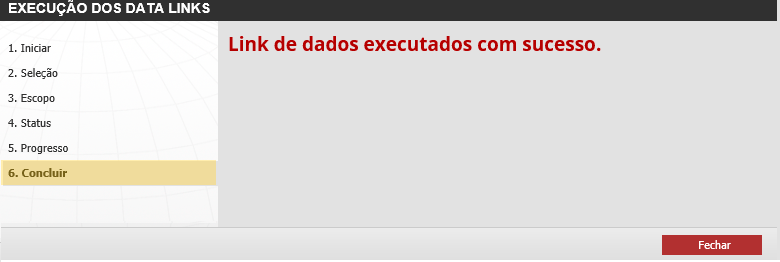
In the final step - FINISH, the execution of the Data Links has just been manually executed. Click Close.
In addition to this manual way of executing data links, the administrator can configure T6 Planning Services to execute loads regularly through task scheduling. For more details, refer to the T6 Planning Services User Manual.
¶ 3.5 Execution History
To access the execution history of a Data Link:
- Click once on the Data Link in the list. You will select it.
- Click on the VIEW tab.
- In the options bar, click the Executions button.
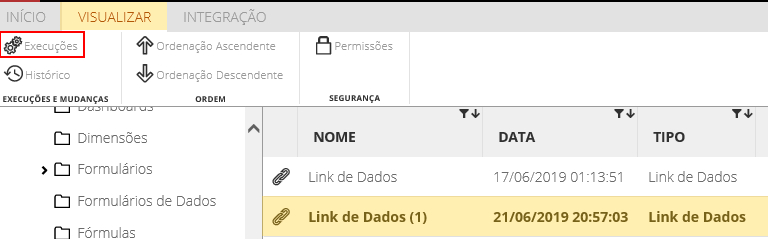
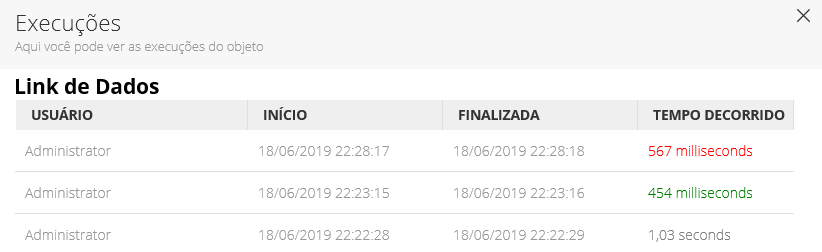
A side window will open, displaying a list with the entire execution history of the selected Data Link.
¶ 4. Dimension Sharing
¶ 4.1 Overview
Dimension Sharing is a feature that allows data from one dimension to be shared with other dimensions of the same application or with dimensions of other applications, that is, intra or inter-application sharing.
Using Dimension Sharing, you can perform the following tasks:
- Intra-Application Sharing: When data from a Main Dimension is shared with other dimensions of the same application.
- Inter-Application Sharing: When data from a Main Dimension is shared with other dimensions of other applications.
When we talk about Dimension Sharing, some concepts are important to mention. They are:
- Main Application: is the source application. The application that contains a Dimension that will "share" the data.
- Main Dimension: is the source dimension. The dimension that shares the data. Only in this dimension is it possible to make data changes.
- Shared Application: is the destination application. The application that contains a Dimension that will reflect the data from another application.
- Shared Dimension: is the destination dimension. The Dimension that reflects the data from another dimension. It is not possible to make data changes in this dimension.
Note: Understand data as the Attributes and Members of the dimension.
To access the Dimension Sharing feature, in the main menu of T6 Planning, go to Explorer -> Navigator.
- On the Explorer screen, on the HOME tab, access the T6 Planning Folder.
- In the T6 Planning Folder, locate the application that will have the SHARED dimension and click to expand.
- Locate the Dimensions folder and click on it to display the dimensions of the application.
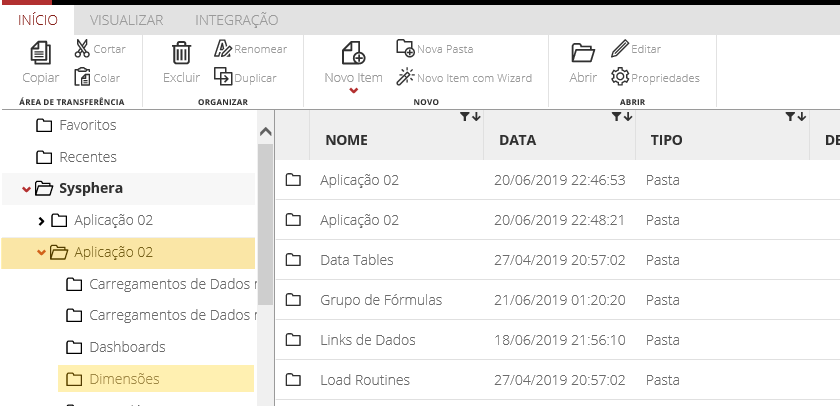
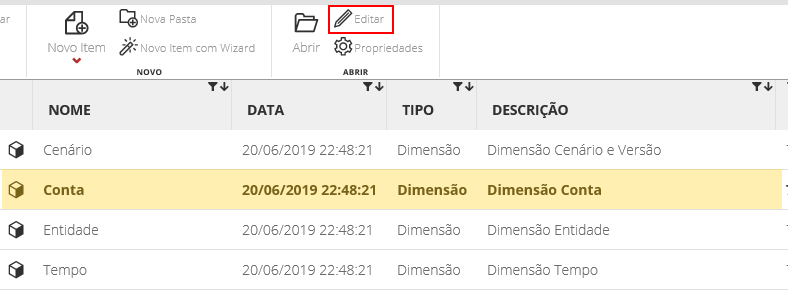
- The dimensions of the application are displayed in the center of the screen.
- In the list of dimensions, locate the dimension to be SHARED, and in the options bar, click Edit.
On the EDIT DIMENSION screen, below the Properties, select which will be the Main Application and Dimension, that is, from which Application and Dimension the data will be shared with the selected dimension.
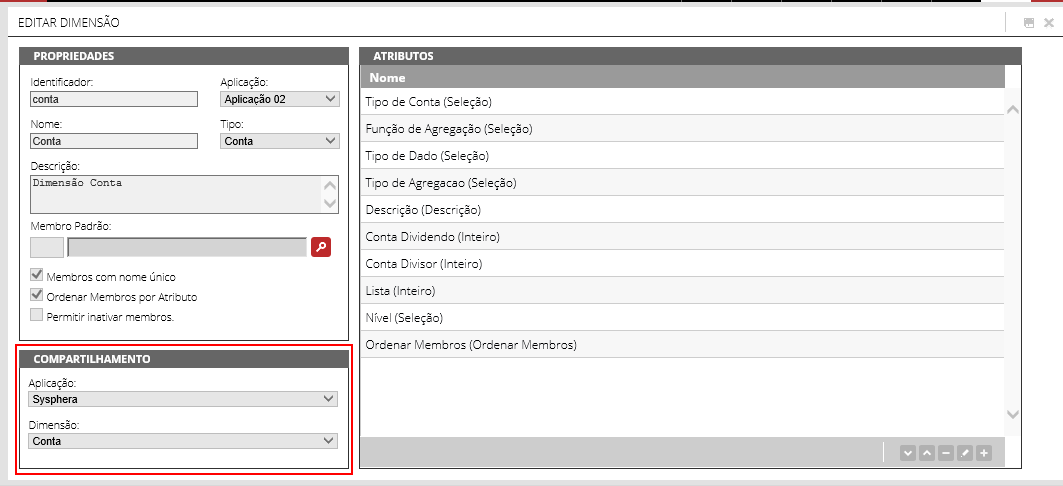
Then click the Save button on the toolbar.
Note: It is necessary to publish the Cube after making this change.
¶ 4.2 Cube Publication with Dimension Sharing
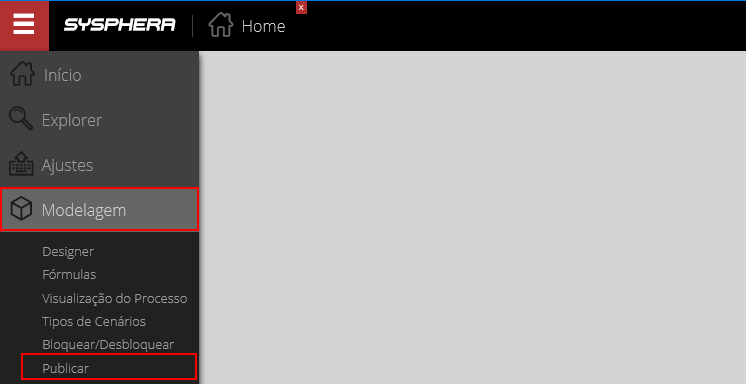
This is the feature that allows publishing the structure of the T6 Planning repository with the Cube. To use this feature, in the main menu of T6 Planning, go to -> Modeling -> Publish.
To perform application publication, note that in:
- Shared Applications: the publication process is isolated, reflecting only in the application being worked on.
- Main Application: The publication process involves shared applications. The user must have access to all applications to be published, so that the changes made in the Main Application are reflected in the Shared ones.