¶ 1. Overview.
The data copy feature enables the transfer of information from one context to another, provided that the aggregation types of the source and destination contexts are compatible, allowing not only copying but also the application of operations and formulas during the data transfer.
¶ 1.1. Prerequisites
To use this tool, the user must have the following Manager Features enabled in Permissions:
It is also necessary to enable the Preview Feature:
¶ 2. Features.
- It enables copying data between contexts that share the same aggregation structure, ensuring that operations are performed accurately.
- The system allows the inclusion of operations on the data during transfer, such as addition, subtraction, percentages, and the application of formulas, which can be performed during the copy process or afterward, allowing for specific adjustments.
¶ 3. Usage
¶ 3.1. Data Copy
We will need to follow the rules below to use this tool:
- At least one dimension must contain members, both in source and destination;
- Members selected in the Source scope must be different from the Destination scope;
- The number of selected members in Source must be equal in Destination;
- Selecting at least 1 member from the Scenario dimension is mandatory;
- If no members are selected in the Time dimension, the system will fetch all members from the scenario type, and if any are Closed we will be blocked from continuing.
To use Data Copy, follow these steps:
1. In the T6 main menu, expand the Scenario section;
2. In the Scenario section, select the Data Copy option;
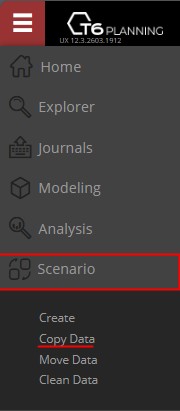
- When we click on Data Copy, a new window will open;
- In the initial step, through a dropdown we will select the Application in which we will work;
- After selecting the Application, the source and destination dimensions will be displayed based on the selected application;
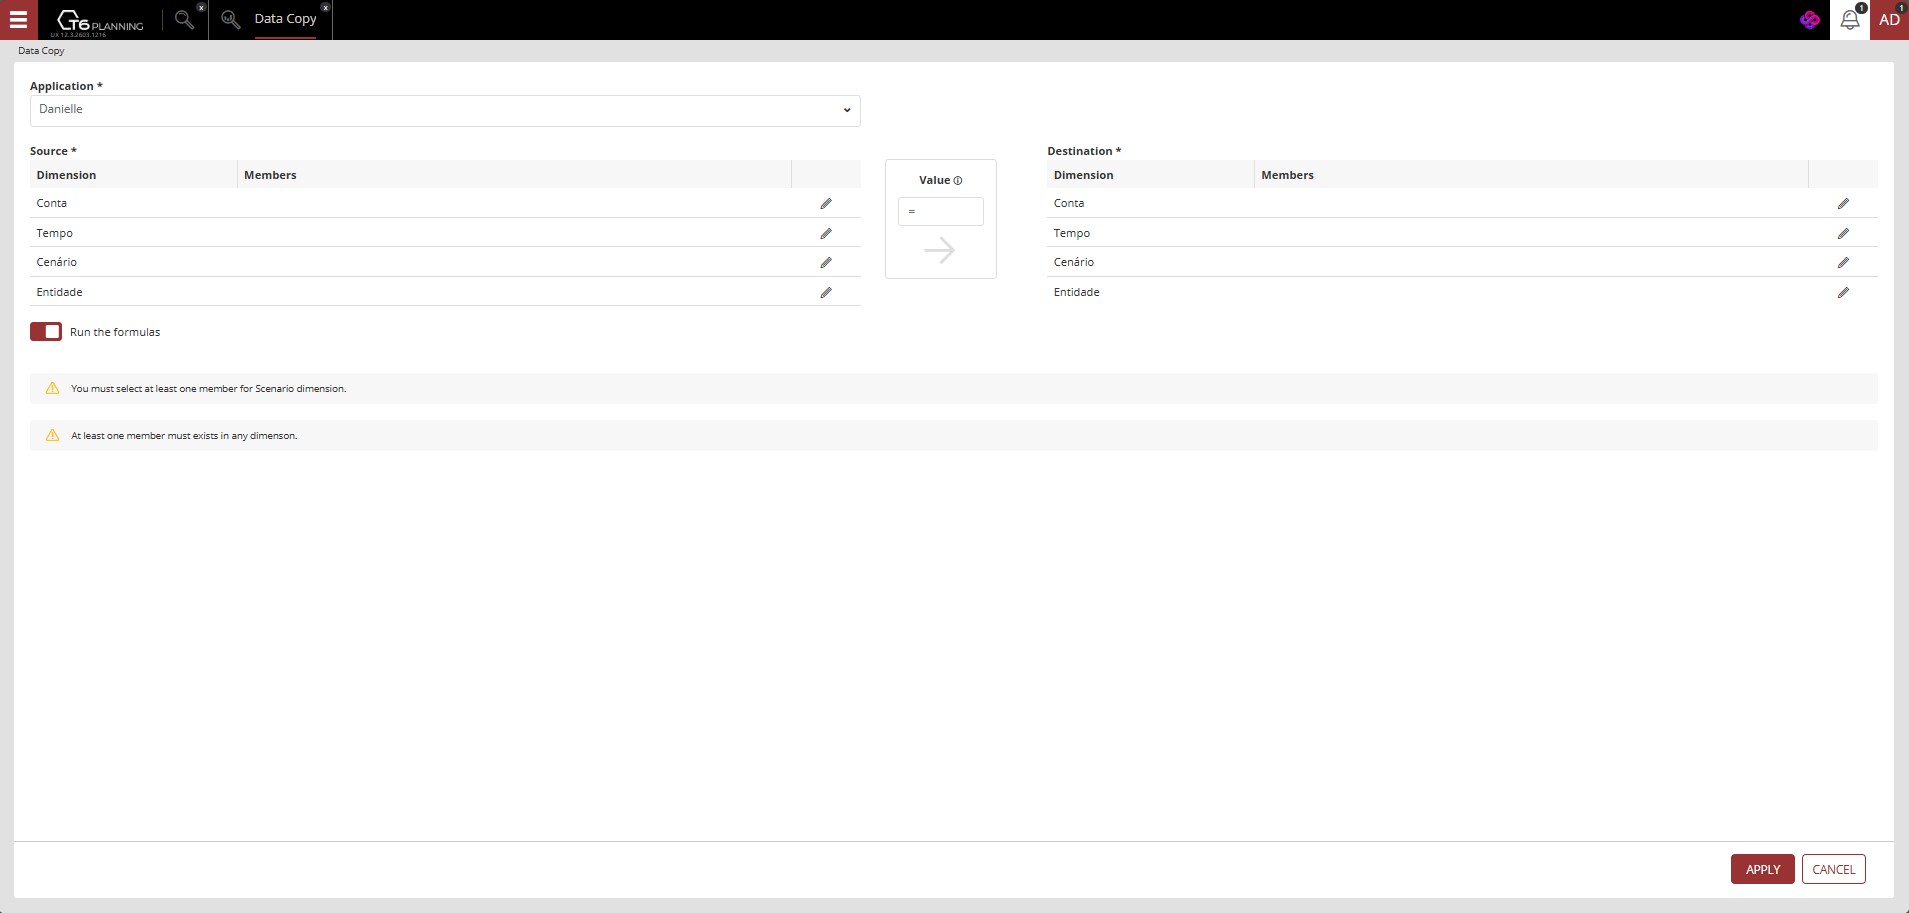
- Source: Location where we will define the scope of members whose data will be copied;
- Destination: Location where the data copied from the source will be stored;
- Operator: Location where we can perform addition or reduction of copied values, whether through addition (+n), subtraction (-n) or percentage (+n% | -n%). To use the original values, just keep the equal sign (=).
We will necessarily need to select the same number of members in the source and destination dimensions;
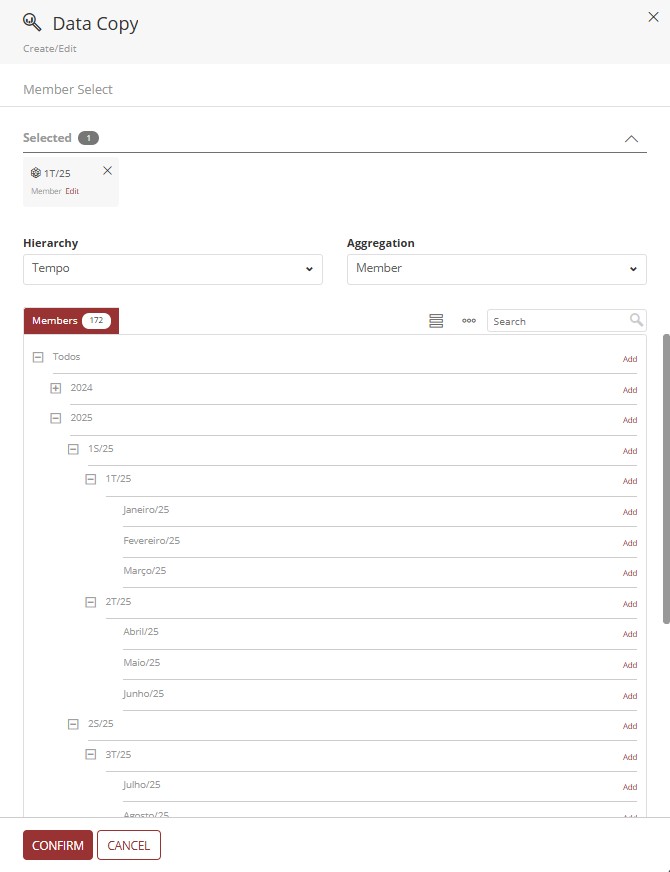
- To select the members of a dimension, click on the pencil icon next to the dimension name, the same should be done for both the source dimension and the destination dimension;
If you have selected members in a source dimension, the same dimension in the destination must have members selected;
It is necessary to select at least one member from the Scenario dimension and one member from another dimension.
- We also have an Execute formulas switch button that when enabled will execute existing formulas in the application during the copy process, thus bringing values affected by execution;
- When we click Apply, a verification will be performed on the scope of the members. If inconsistencies are detected, we will be prevented from proceeding and there will be messages informing the reason for the impediment:


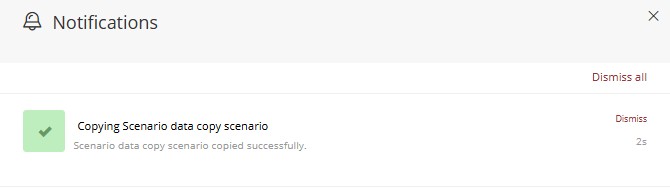
- Adjust the scope to follow the necessary requirements and click Apply. If everything is correct, the page will be closed and a notification will be generated, informing about the success in copying the data.
We can view the result through Forms in T6.
¶ 3.2. Copy Data through Form.
We can perform data copying directly through a form. To do this, we will open the form, select the Tools tab, in the data section, we will click on ![]() . The Data Copy panel will open on the side:
. The Data Copy panel will open on the side:
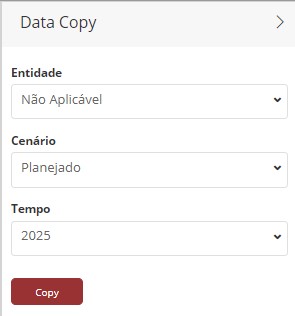
In the opened panel, we will select the source of the data to be copied, select the pages where the data is located (filling will depend on the configuration set in the form).
We also have the Pages panel where we will select the pages where the data will be copied (according to the form configuration). This is our destination. We need to select the cells where we want the data to be copied. We can copy data across the entire form, in a column or row, by dragging the selector as needed, or by selecting specific cells, depending on the user's needs.
In the example below, the pages configured in the form are Scenario, Entity, and Time:

To perform the copy, click on ![]() in the Data Copy panel. To complete the data copy in the form, click save in the Home tab.
in the Data Copy panel. To complete the data copy in the form, click save in the Home tab.
If the type of data allocated in the source cells is not compatible with the type of data in the destination cells, the system will allow the data to be copied but will not allow the form to be saved.
¶ 3.2.1. Applying Data Copy through Form.
To apply data copy through forms, follow these steps:
- Select a form and open it;
- Open the pages panel on the right side and select the destination page where the data will be pasted;
- In the Tools tab, in the data section, select the Data Copy option;
- In the data copy panel, select the source of the data to be copied;
- In the form, select the cells that will receive the data by dragging the mouse cursor to the desired selection area;
- In the data copy panel, click Copy;
- In the Home tab, click Save.
¶ 4. Q&A
Frequently Asked Questions
1. What prerequisites are required to use Data Copy?
To use Data Copy in T6, the user must have the Manager Feature Manage structure/model of the application enabled, in addition to the Preview Feature New Scenario Analysis being active.
2. Between which contexts can Data Copy be performed?
Data Copy can be performed between contexts that share the same aggregation structure and have compatible aggregation types.
3. Can I apply operations during Data Copy?
Yes, during Data Copy it is possible to apply operations such as addition (+n), subtraction (-n), percentages (+n% | -n%), or keep original values using the equal sign (=).
4. What does "Execute formulas" mean in Data Copy?
When the Execute formulas option is enabled, while copying data the system ensures that existing formulas in the application are executed during the copy process, bringing values affected by execution.
5. How do I access the Data Copy feature?
There are two ways to access Data Copy:
Through the T6 Analysis section:
- In the T6 main menu, select the Analysis section;
- Select the Data Copy option;
- A new window will open to configure the data copy.
Directly through the form:
- Open the desired form;
- In the Tools tab of the ribbon, in the Data section, click Copy Data;
- The Data Copy panel will open on the right side of the screen.
6. Do I need to select the same number of members in source and destination to perform Data Copy?
Yes, to perform Data Copy, it is mandatory to select the same number of members in source and destination dimensions.
7. What are the minimum selection requirements to perform Data Copy?
To perform Data Copy, the following minimum requirements must be met:
- It is necessary to select the same number of members in source and destination dimensions;
- If members are selected in a source dimension, the same dimension in destination must also have members selected;
- It is necessary to select at least one member of the Scenario dimension and one member of another dimension.
8. What happens if there is a data type incompatibility when copying through the form?
If there are data type incompatibilities, the system will allow the copy, but it will not allow the form to be saved if the data types are not compatible.
9. What should I do if I receive an impediment message during Data Copy?
Check the information shown in the impediment message. Adjust the scope to follow the required criteria and try to copy the data again.
10. Can I copy data only to specific cells?
Yes, when copying data through the form, you can select specific cells, one column, row, or the entire form, depending on your need.
11. How do I view the result after copying data?
After copying data, you can view the result through Forms in T6.
12. Do I need to save after copying data?
Yes, especially when Data Copy is performed through the form, you need to click Save in the Home tab of the ribbon to confirm changes (it will not be possible to save if the copied data type from source is not compatible with destination).