¶ 1. Overview
Object that allows the creation of data lists linked to members of the Account dimension.
The linked lists enable the selection of predefined values for members of the Account dimension through a dropdown, which can be used directly within forms.
¶ 1.1. Prerequisites
To use linked lists, the user must have permissions that allow the creation of objects in the Explorer and permission to modify the application model.
The user must have the Manage Application Structure/Model management functionality enabled.
The user must be added to a global group, with the Manage Explorer management functionality enabled.
¶ 2. Creation
To create a Linked List, access the Explorer in T6 and select the creation location. After selecting the location where the list will be created, click on New Item in the ribbon, click on the Modeling option to display the options, and select Linked List.
- Double-click to open the created object.
- A panel will open on the side.
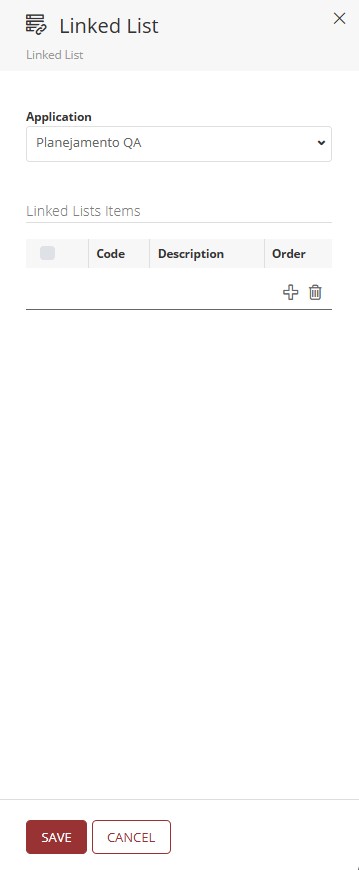
- In Application, click the dropdown and select the application where the list will be created.
- To add items to the list, click the add symbol.
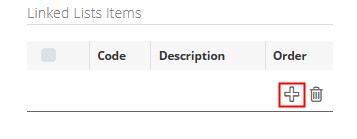
- A new item will be created, displaying the code, description, and order.
- Code: Key value for the list item (this value must be unique).
- Description: Description of the item in the list.
- Order: Value indicating the display order of the item in the list.
The item code, its description, and order can be edited by double-clicking the cell containing the value to be changed. The cell will enter edit mode, allowing the entry of a new value.
- To delete items from the list, select the item you want to delete by clicking the checkbox next to the code and then click the trash icon.
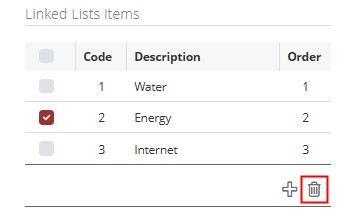
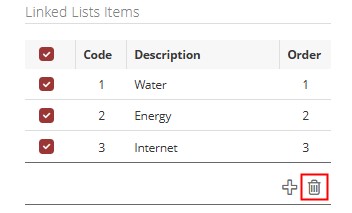
- Deletion can be performed by individually selecting the items to be removed from the list and clicking the trash icon, or by clicking the checkbox in the header to select all items in the list and then clicking the trash icon.
- To save the changes made to the linked list, click

¶ 3. Usage
To use the created list, access the T6 main menu, go to the Modeling section, and select the Designer option.
- In Application, select the application where the linked list was created.
- Select an existing member or create a new member in the Account dimension.
- With the member selected, click on Tools, then click on Show Properties.
- With the properties panel open, change the account type and data type.
- In Account Type, click the dropdown and select Driver.
- In Data Type, click the dropdown and select List.
- After changing the account type and data type, you will be able to select the created linked list in the List option.
- In List, click the dropdown and select the previously created linked list.
- Click Save.
- Finally, publish the cube.
After publishing the cube, you can proceed with its use in T6 forms.