¶ 1. Overview
Storage within T6 is an essential component for managing massive data storage; it allows for the efficient storage of backups, documents, images, and videos. Within T6, we currently use the Microsoft Azure cloud storage service, Azure Blob Storage. It can be used for a wide range of scenarios, including unstructured data storage, backup, disaster recovery, archiving, and sharing static content such as images and videos. It uses SSE (Security Service Edge) to automatically encrypt data when it is sent to the cloud.
¶ 1.1. Prerequisites
- The user must have the Manager feature Create and View Data Entry Forms enabled;
- The user must have the Manager feature Manage Data Table Structure enabled;
- The user must be assigned to a Global Group with the Manager feature Manage Explorer enabled;
¶ 2. Configuration
To use storage within T6, we will need to have an account on the Microsoft Azure Portal.
We will also need to configure the Storage within T6, and we will need to create a Data Table and a Data Form.
¶ 2.1. ConnectionString
Within the Azure Portal, after creating your storage account, we will need to collect the ConnectionString to configure the storage within T6.
- Access Storage Accounts within the Azure portal;
- Access your storage account that will be used in T6;
- In the left-hand side menu, expand Security + Networking and select the Access Keys option;
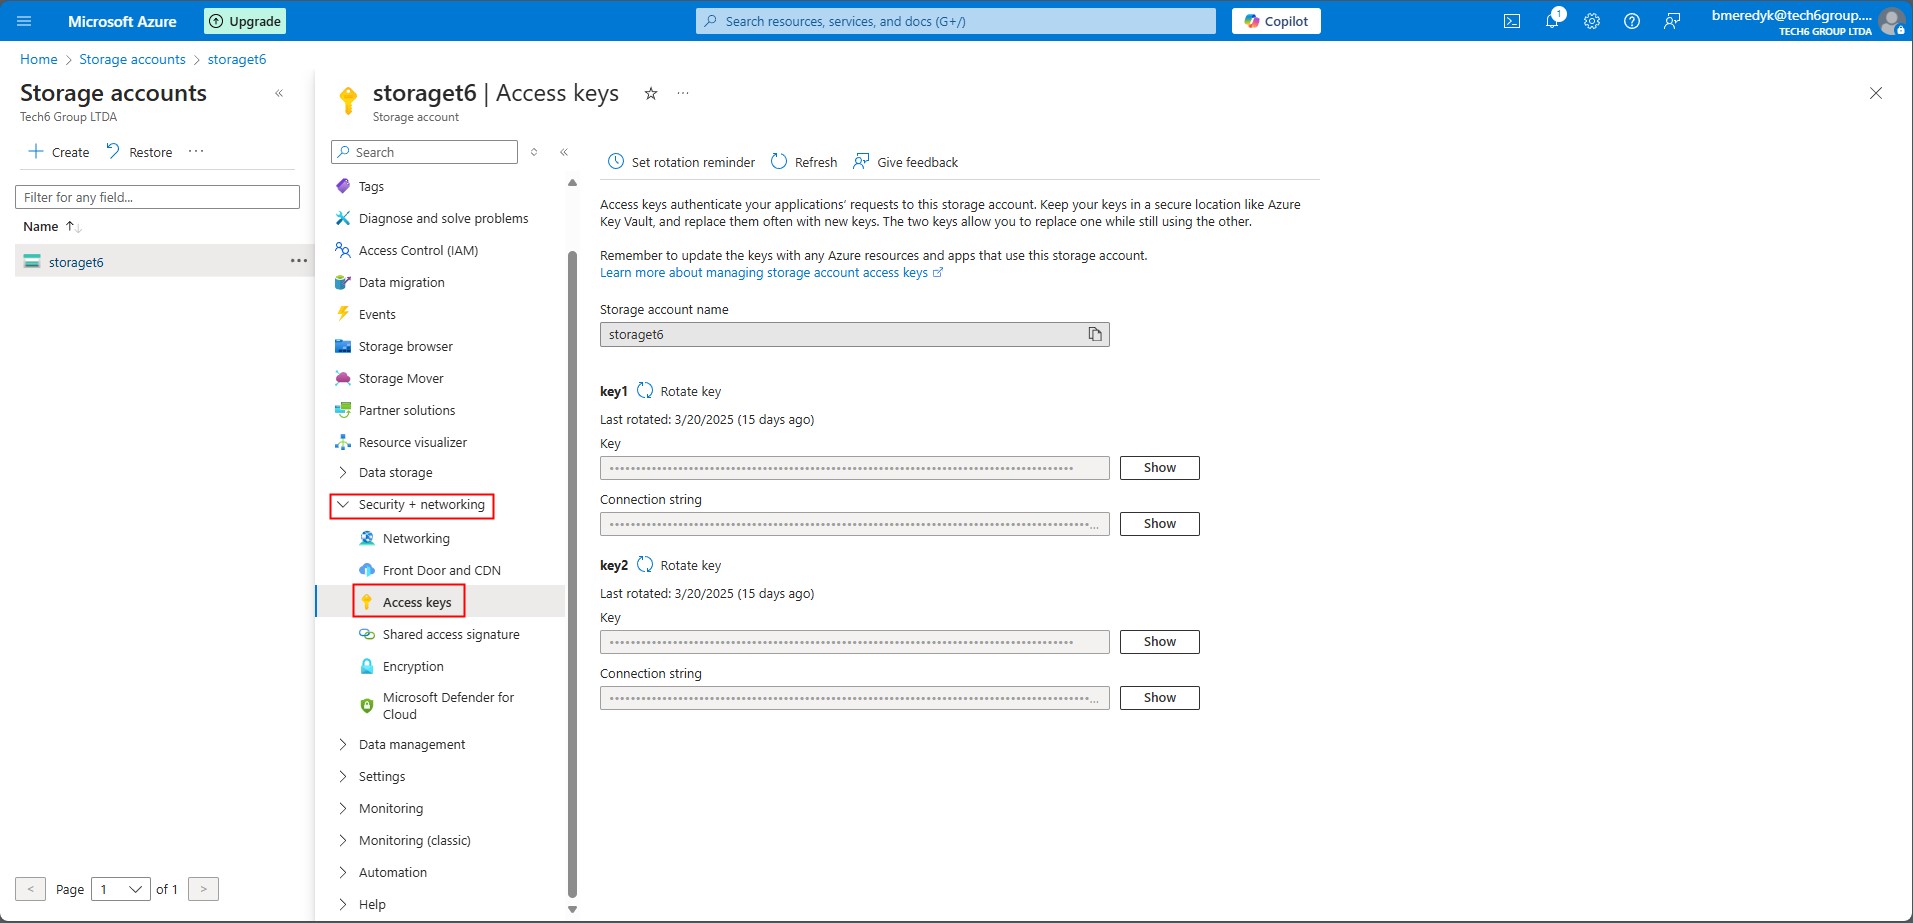
We will have 2 access keys for each storage account (Key1 and Key2), which can be updated whenever necessary. Each key has a Key field (which we will not use) and a Connection String field.
- Choose one of the Keys, and click Show next to the Connection String field;
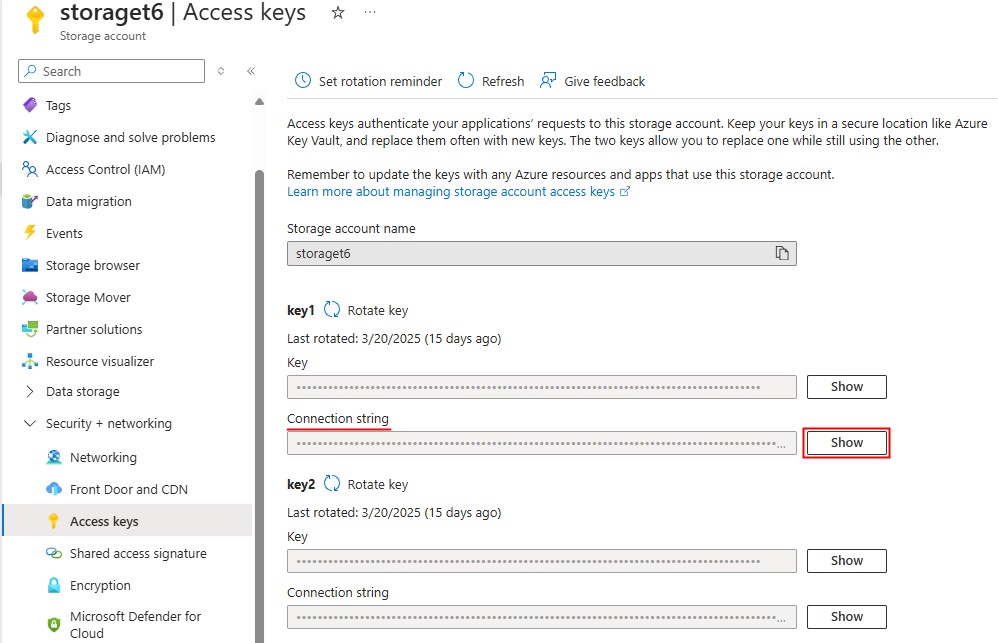
When clicking on show, our connectionstring will be displayed. Click on
to copy the entire connectionstring to the clipboard;
¶ 2.2. Storage
To use Storage, we will follow these steps:
- In the main menu of T6, in the Configuration section, select Storage;
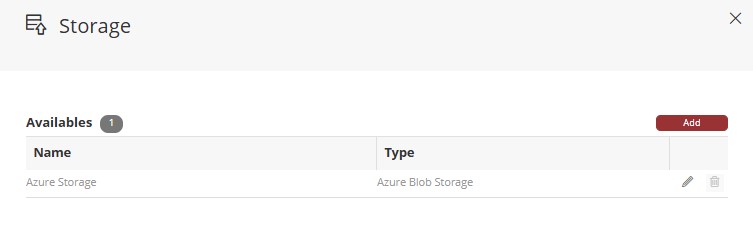
- A panel will open on the side, where we will create our storages (location where already created storages are displayed);
- Still in the Storage panel, we will click on
 , and the fields for configuring our storage will be displayed. We will have Name, Type, Container, and Connection String;
- Name: We will define a name for our storage within T6;
- Type: We will select the type of storage via a dropdown (currently we have the option Azure Blob Storage);
- Container: Name of the container that will be created in the Azure Portal to store files sent by T6. When saving, the container will be created (This name can only contain lowercase letters, numbers, and hyphens and must start with a letter or a number);
- Connection String: We will enter the connectionstring that we collected from our storage account in the Azure Portal;
- After completing the fields, click on
 ;
;
- When we save, we will return to the home page, now with the created storage being displayed:
¶ 2.3. Data Table
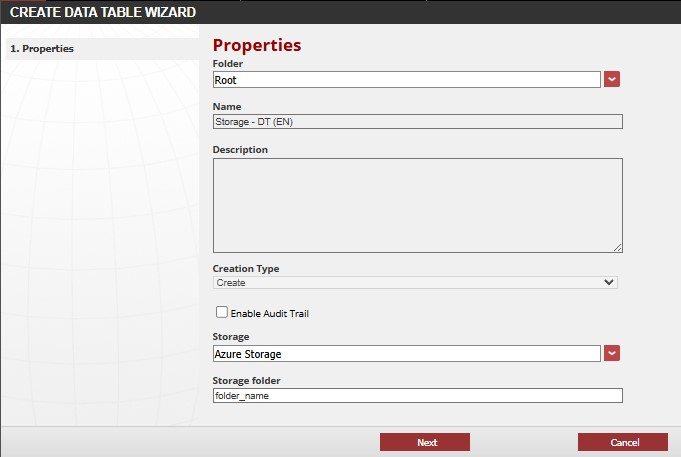
- In the T6 explorer we will create a Data Table;
- In the properties step, after defining the Data Table Name, we will select the Storage Type and optionally define a Storage Folder;
- Storage Type: We will click on
 to expand the dropdown and display the available storage options for selection. At the moment, we have the options Azure Storage and none;
 - Storage Folder (optional): If we define a name, a new folder will be created inside our container in the Azure Portal where the uploaded files will be saved. If left blank, the uploaded files will be saved directly in the container;
- Storage Type: We will click on
- After completing the properties step, click on
 ;
; - In the Configure Columns step, we will add 2 columns, the first column of type Text, and the second column of type File;
- After completing the column additions, proceed to the next steps and click on
 .
.
Once created, when we try to edit the data table, the Storage Folder option will not be editable.
¶ 2.4. Data Form
- In the T6 explorer we will create a Data Form;
- In the properties step, we will define the Data Form Name
- We will select the Data Table created previously;
- In Layout, we will select the columns from the Data Table and add them to Columns;
- Before saving the form, change the view mode to Window;
- To finish creating the form, we will click on
 .
.
¶ 3. Usage
To use the Storage, we will upload files in our data form:
- Select the Data Form created and click on
 ;
; - With the form open, add a description in the first column and in the second column, click on the dropdown and add a file;
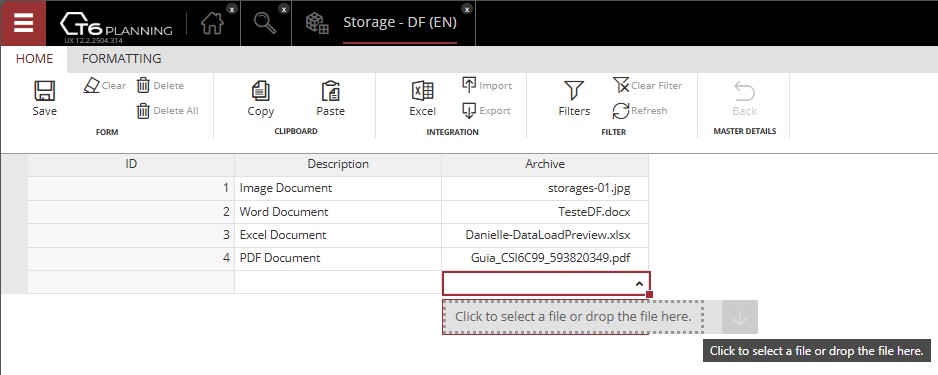
- Click Save in the ribbon to complete the data entry;
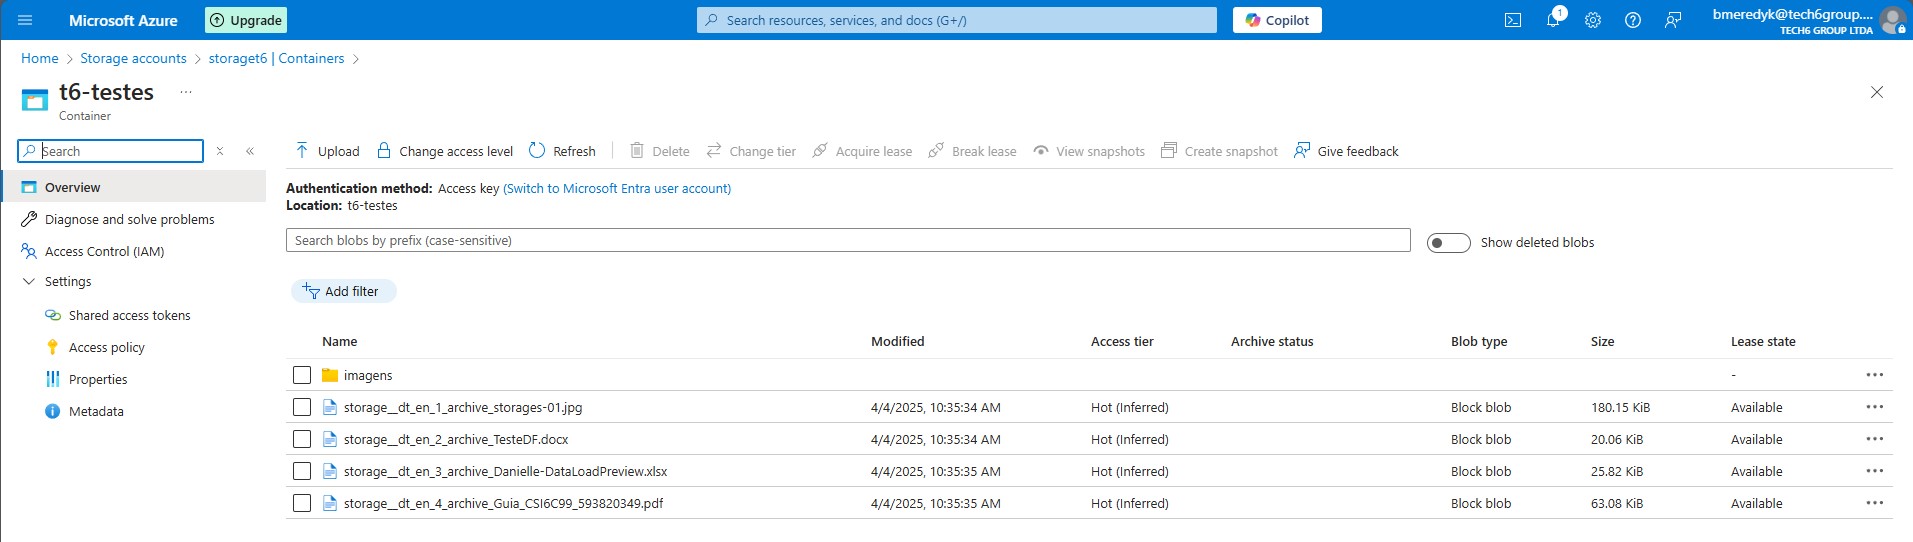
While the storage is set as Azure Storage, every file added here will be saved to your storage account in the Azure Portal.
To view the content of an uploaded file, simply reopen the form, select the dropdown of the desired file, and click on
to download it.
If the created Storage is deleted, or if in the data table we change the storage type to none, the files in our storage account in the Azure Portal will be deleted.
¶ 4. Q&A
Frequently Asked Questions
1. What features are required to configure Storage in T6?
To configure Storage in T6, the user must have the following Manager features enabled: Create and View Data Entry Forms and Manage Data Table Structure, and be in a Global Group with Manage Explorer enabled.
2. Is it possible to use Storage without an Azure account?
No. To use Storage in T6, having an account on the Microsoft Azure Portal is mandatory.
3. Where can I find the ConnectionString in the Azure Portal to configure Storage in T6?
To configure Storage in T6, we need to access the ConnectionString from our storage account in the Azure Portal:
Go to Storage Accounts > your account > Security + Networking > Access Keys. Choose one of the keys and click Show in the Connection String field.
4. Can I use any name for the Storage container?
No. During Storage configuration in T6, the container name can only contain lowercase letters, numbers, and hyphens, and must start with a letter or number.
5. What happens if I do not define a "Storage Folder" for Storage?
During Storage configuration in T6, if the Storage Folder field is left blank, files will be saved directly in the container. If a name is defined, a specific folder will be created inside the container.
6. Can I change the "Storage Folder" after creating the table?
No. After creating the data table, the Storage Folder option is no longer editable. If you need a different folder, you must create a new data table with the new Storage Folder.
7. How can I view an already uploaded file in Storage?
To view an already uploaded file in Storage, open the form used for the file upload, click the desired file's dropdown, and click the Download button.
8. What happens if I delete the Storage created in T6?
If Storage is deleted in T6, the files in the Azure Portal storage account will be deleted and cannot be recovered.
9. What if I change the storage type to "none" in T6?
If the storage type is changed to "none" in T6, all files will be deleted from the storage account in the Azure Portal.
10. What file types can be stored in Storage?
Storage in T6 is used to store backups, documents, images, and videos - generally any kind of unstructured data.